
By Dr. Anna Migocka, Specialist in Paediatrics

If you have ever tried to convince a 6-month-old to pass water into a small plastic cup on command, you know it is one of parenthood’s most challenging tasks. It is a logistical feat that requires patience, perfect timing, and a bit of luck.

As a pediatrician , I frequently meet parents frustrated by repeat tests.
"Alex took two courses of antibiotics, yet the lab still shows bacteria! How is this possible?"
The answer usually lies in the "crucial question": How was the urine collected?

The devil is in the details. In Malta’s warm climate, a sample that isn't collected or stored correctly leads to false positives, unnecessary antibiotics, and delayed diagnoses. Here is my guide to getting it right the first time, based on medical gold standards and the realities of the Maltese healthcare system.
Phase 1: The Pharmacy Run (L-Ispiżerija)
What You'll Need
-
Urine Container (Sterile or Non-Sterile): The collection container provided by a pharmacy or lab. (Friendly tip: Be careful not to touch the inside of the container or the inner lid!)
-
Cleaning Supplies: Mild soap and lukewarm water.
-
Clean Cloth: Clean gauze or a clean, soft washcloth/towel for washing and drying.

Before you start, you need the right tools. Visit your local pharmacy (spiżerija) and ask for:
-
An Urine Container:
-
Rule: If your doctor ordered a "Culture", the container must be sterile.
-
Pro Tip: Buy two. Accidents happen, and you don't want to lose a hard-earned sample because a lid dropped on the floor.
-
Important Note: Never use a jam jar or food container from home. Even after a dishwasher cycle, microscopic residues remain that can invalidate medical tests.
-
-
Pediatric Urine Collection Bags:
-
Usage: These adhesive bags are helpful for non-potty-trained infants, but only for general urinalysis (dipsticks). I generally advise against using them for cultures because they pick up too many bacteria from the skin.
-
Phase 2: Choosing the Right Method
How you collect the sample depends entirely on the test your doctor has requested.
Scenario A: General Urinalysis (The "Routine" Test)
-
Goal: To check for sugar, blood, or general inflammation.
-
Method: The bag method is usually acceptable. Both sterile and clean (non-sterile) urine containers may be used.
Scenario B: Urine Culture (Kultura) – The "Clean Catch"
-
Goal: To identify the specific bacteria causing an infection and choose the right antibiotic.
-
The Problem: Bags collect bacteria from the skin, not just the bladder. This leads to "contaminated" results, which might mean your child takes antibiotics they don't actually need.
- Method: sterile container.
-
The Solution: The "Mid-Stream Clean Catch."

Step 1: Getting Ready
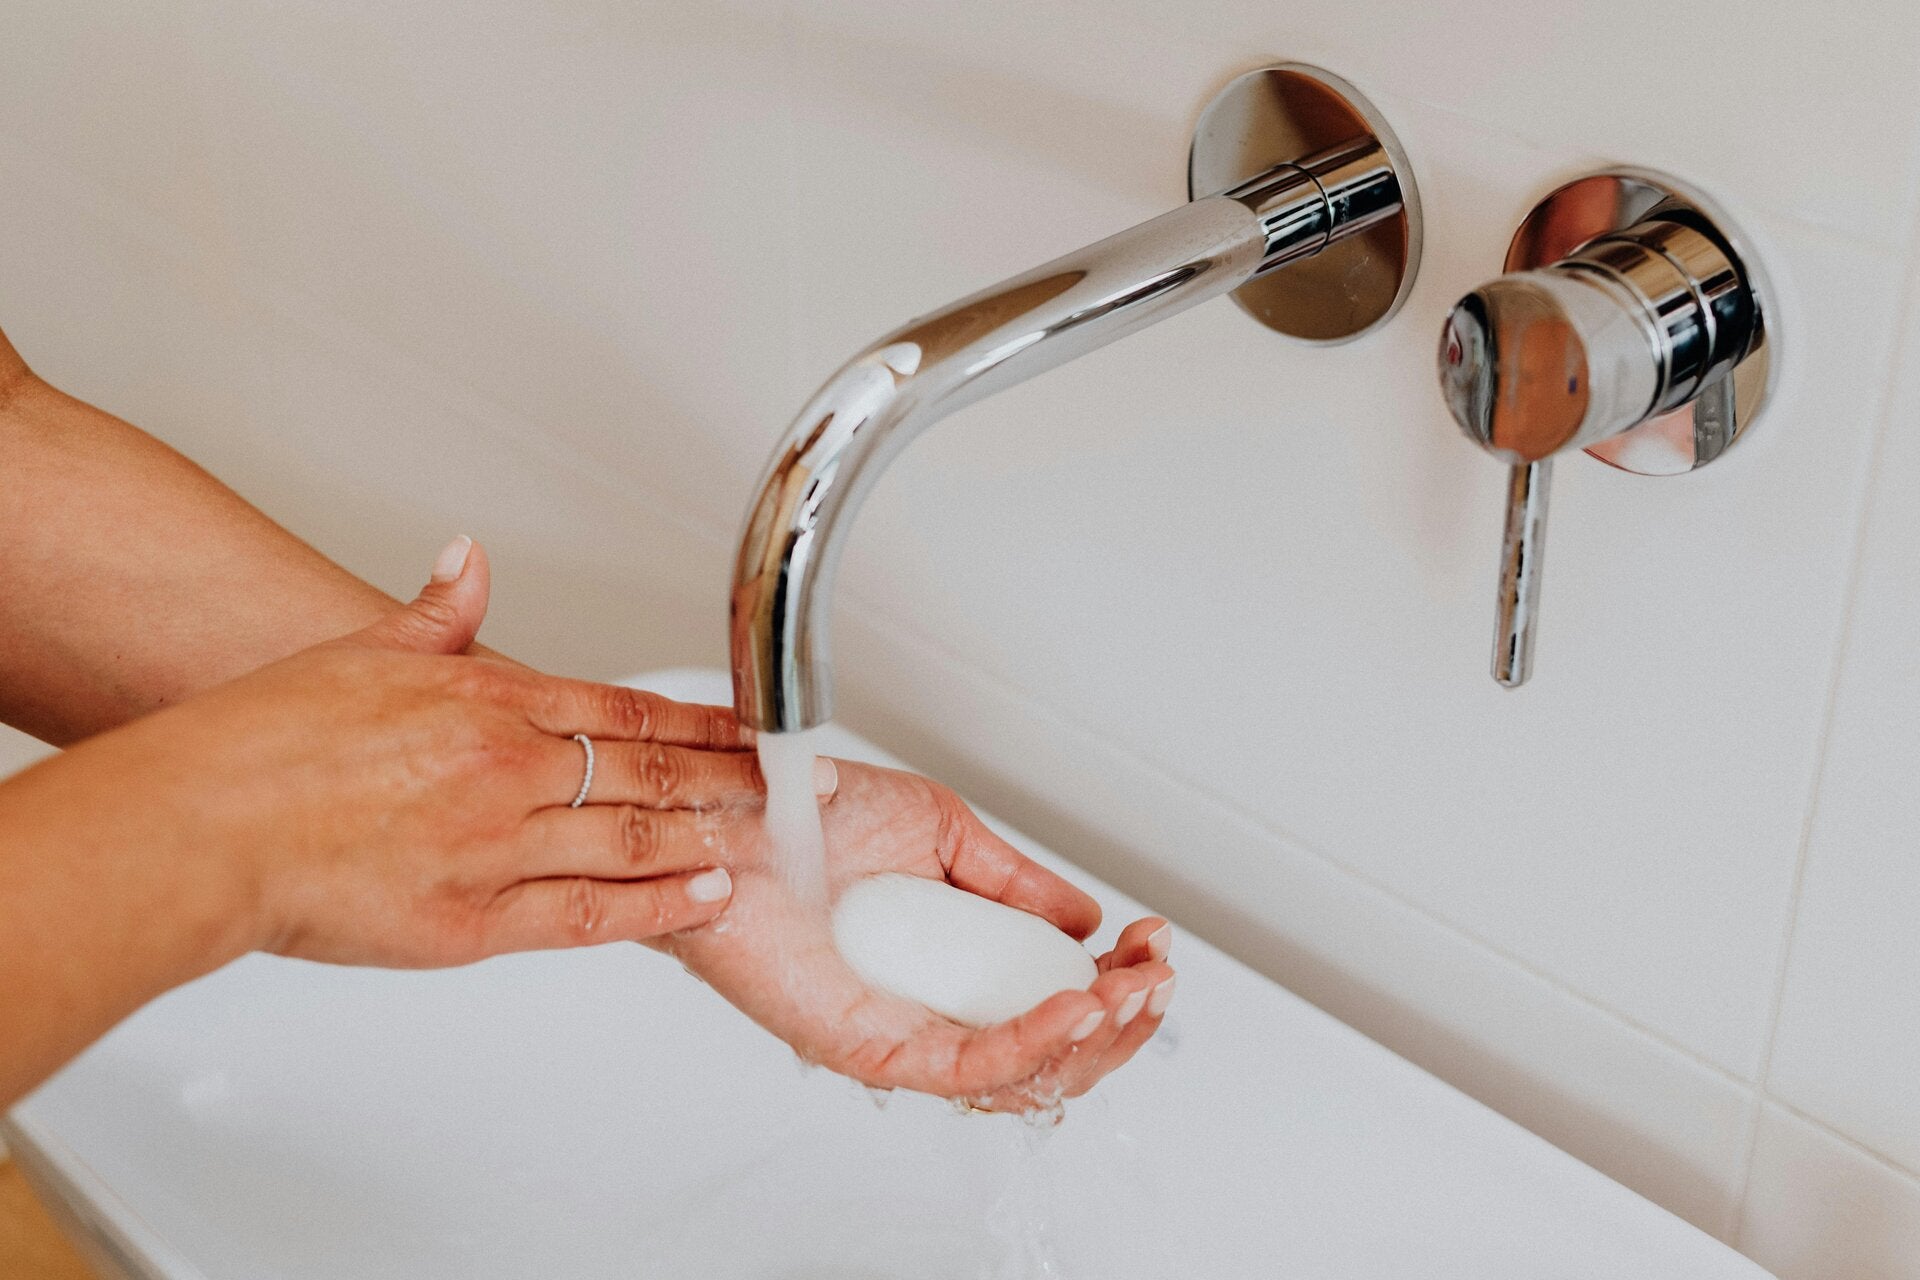
- Sparkling Clean Hands: Wash your hands thoroughly with soap and water and dry them with a fresh towel.
-
Container Prep: Gently loosen the lid of the urine container and place it nearby with the inside facing up. This keeps it perfectly clean until you need it.
-
Encourage Fluids: Giving your child a drink 20-30 minutes before collection can help ensure a good, steady stream for the sample.
Step 2: Gentle Cleaning (The Key to Accuracy!)
This step is essential to wash away any surface bacteria.
How to Collect a Urine Sample from Your Baby?
for General Urinalysis (The "Routine" Test)

1. Wash the genital area thoroughly with plain water. If you use soap, rinse extremely well; soap residue can sometimes interfere with the chemical "dipstick."
2. For girls, clean carefully between the labia. For boys, gently rinse.
Note: Do not force the foreskin back if it is still attached (which is normal until age 3 or older).
3. Attach the bag to the genital area (don’t worry—the bag comes with instructions). The urine needs to go directly into the bag. Put a loose nappy on and check every 15 minutes.
4. When your baby pees, collect the urine right away in the urine container.
How to Collect a Urine Sample from a Girl?
for General Urinalysis (The "Routine" Test)

For Girls (Always wipe front-to-back):
-
Ask your child to sit comfortably on the toilet (or potty).
-
Gently separate the folds of skin (labia) around the urinary opening.
-
Using your clean cloth or gauze dampened with mild soap and water, wipe the area from front to back (moving towards the bottom).
-
Rinse the area well with clean, lukewarm water to remove all soap residue, and pat dry with a clean, dry towel.
- She is now ready to collect a urine sample directly into the urine container (see ‘clean-catch’ instructions below).
How to Collect a Urine Sample from a Boy?
for General Urinalysis (The "Routine" Test)

For Boys (Remember the foreskin, if applicable):
-
Have your child stand in front of the toilet (or sit on the potty).
-
Using your clean cloth or gauze dampened with mild soap and water, wipe the head of the penis (gently pulling back the foreskin if your child is uncircumcised). Use a gentle, circular motion.
-
Rinse the area thoroughly with clean, lukewarm water to remove all soap, and pat dry with a clean, dry towel.
- He is now ready to collect a urine sample directly into the urine container (see ‘clean-catch’ instructions below).
Step 3: Collecting the Midstream Sample for Urine Culture
When your child needs a urine test, getting a "Clean Catch" midstream sample is the way to ensure accurate results, especially for checking infections. It just means avoiding bacteria from the skin! Here is a simple, step-by-step guide for babies and toilet-trained children.
How to Do a Clean-Catch Urine Sample in Babies (The Quick-Wee Method)?
for Urine Culture

- Position: Lay the baby on a changing mat with the nappy off. Since this can be messy, I often suggest doing this inside a bathtub or a clean plastic basin—it makes the cleanup much easier!
-
The Trick: Rub a piece of gauze soaked in cold water in gentle circles on the baby’s lower tummy (the suprapubic area).
-
Trigger & Catch: This cold sensation often triggers a bladder reflex. Let the very first drops fall onto the mat/basin, then catch the "mid-stream" in the sterile cup. Try not to let the cup touch the baby's skin.
How to Collect a Clean-Catch Urine Sample from Older Children?
for Urine Culture

- The Start: Ask your child to start peeing into the toilet.
-
The Middle Catch: After a few seconds, once the stream is flowing nicely (this first part washes away any residual germs), quickly slip the sterile container into the stream.
-
The Sample: Collect about 30 mL (or enough to fill the container halfway).
-
The Finish: Carefully remove the container from the stream and allow your child to finish peeing into the toilet.
Step 4: Final Steps for Safe Delivery

- Seal It Up: As soon as the sample is collected, screw the lid on tightly. Remember to only touch the outside of the container and the lid!
-
Add the Details: Label the container clearly with your child's full name, date of birth, and ID card number (if available) or the child’s hospital number. This is super important for the lab.
-
Keep It Cool: Place the sealed container in a clean plastic bag and pop it straight into the refrigerator (at 4°C - 8°C). Keeping it chilled helps keep the sample fresh until it can be tested.
Phase 3: Maltese Logistics & Delivery
Once you have the sample, the clock is ticking. In our climate, bacteria multiply rapidly in a warm container.

- The 60-Minute Rule: Ideally, deliver the sample to the lab within one hour.
-
The Fridge Rule: If you can't leave the house immediately, put the cup in the fridge (around 4°C). Do not freeze it. This "pauses" bacterial growth. Never leave a sample in a hot car while you run other errands.
-
Where to go?
-
Public Sector (Health Centres / Mater Dei / Gozo General Hospital):
You must have a paper referral or an e-referral from your doctor.
Important: Always call your local health centre in advance to confirm the last available collection time so you don’t miss the collection window. -
Private Sector: Most local pharmacies and private labs offer walk-in testing for a fee. This is often the fastest route if you miss the public courier.
-

Final Checklist for Success
-
[ ] Cleanliness: Hands and baby are washed.
-
[ ] Sterility: The inside of the cup remains untouched.
-
[ ] Freshness: The sample is delivered quickly or refrigerated.
-
[ ] Paperwork: You have the referral (for public) or payment (for private).
A Note to Parents: I know this feels like an impossible task when you are already worried about a sick child. If you are struggling, please reach out to your paediatrician or GP or visit a Health Centre for help. You aren't the first parent to find this difficult!
Disclaimer: This article is for informational purposes and does not replace professional medical advice. Always consult with your doctor for specific instructions regarding your child's health.
Add comment
Comments